HTML Basics
It is said that a journey of a thousand miles begins with a single step. Building a website however, can begin without leaving your desk. That being said, I wouldn't recommend that route - I went for a bike ride a few days ago and the exertion almost killed me. Get your exercise! Joking aside, you will be glad to know that you can start making a website with tools that you already have on your computer right now. All you need is a text editor (all windows computers have notepad, and if you want something a little bit nicer, I use notepad++ which is a lightweight editor but a little bit more powerful than notepad alone. Try to avoid using something Microsoft Word - you want to be able to pick your own formatting and save with whatever file extension you want. The other thing you need is a web browser, but if you are reading this, then you've already got one!
Alright, to get started, we'll make what is quite possibly the most basic HTML page. Open your text editor, and write the following code:
<!DOCTYPE html>
<html>
    <head>
        <title>My First Page</title>
    </head>
    <body>

        <h1>My First Page!</h1>
        <p>Hello World!</p>

    </body>
</html>
This is some pretty simple code so I'll explain quickly - the first line specifies what type of HTML we are using. I haven't had to worry much about this, just know that when we write 'html' and nothing else, it indicates HTML5 (which is amazing, and you should use it). Next, the whole document needs to be contained within HTML tags (a tag is an HTML element started with <tag_name> and ending with </tag_name>). Then the document is split into two parts, the head, which contains meta information and things specifying how to display the page (eventually including CSS, but we'll get to that later), and the body which contains the actual page content. Our head only includes a title - that is the name that will appear as the window title, and our body has a heading (which uses <h1> tags) and a single paragraph (which uses <p> text). Now save your file (I would recommend calling it index.html - index is the standard name for the home page of a site), and open it using your web browser. You should see something like this:
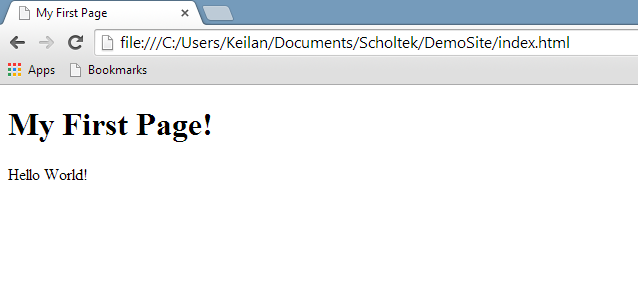
And there you have it - your first webpage. It doesn't look like much, but you have to start somewhere. I won't cover many more tags in this post - there are hundreds of them and it is best to discover them as you have need. As I mentioned in the first post, there is a great tutorial here that can give you a more detailed introduction. I will, however, leave you with two more pieces of HTML to make some more interesting sites. The first, is the <a> tag, which is used for inserting links into a post, and the second is the <img> tag which is used for showing pictures. They look like this:
<a href="scholtek.com"> Link Text </a>
<img src="./pictures/main/firstpage.png" alt="Chrome Display" height="303" width="638"/>
These code snippets also show you "attributes", which are bits of information included in the HTML tag that specify details about what you'd like to display, such as the source (src) of an image. Thanks for reading and I hope this helped - feel free to send your comments to contact@scholtek.com and I will post about adding some colour via CSS soon!